Make sure everything goes right during cannabis cultivation and harvest by taking these steps to protect your crop.
Indoor and outdoor cannabis plants require that cultivators take steps to protect and preserve the entire crop. The best ways to protect cannabis flower include:
1. Fend off powdery mildew, pests, and diseases
2. Guard against nutrient overload
3. Quarantine clones
4. Keep a clean grow room
5. Control the humidity
6. Ensure proper airflow
7. Pay close attention to light cycles
8. Deploy fungicide when needed
9. Monitor soil pH levels
10. Harvest at the right time.
During cultivation, cannabis teams grow more and more enthusiastic. Excitement often peaks at harvest time. And why not? That excitement is well earned!
Cultivating cannabis takes months of hard work, painstakingly pruning and caring for plants until they’ve matured and are ready to be processed for flower or concentrates. While cannabis is a hardy and vigorous grower, the plant requires attention to detail in order for the cannabinoids to fully proliferate and for those precious trichomes to remain viable.
Luckily, there are steps that commercial cultivators and cannabis businesses can take to ensure plants are protected and preserved during cultivation and harvest.
Follow these steps to produce cannabis strains and products that possess the potency, freshness, and reliability consumers crave.
Cultivation
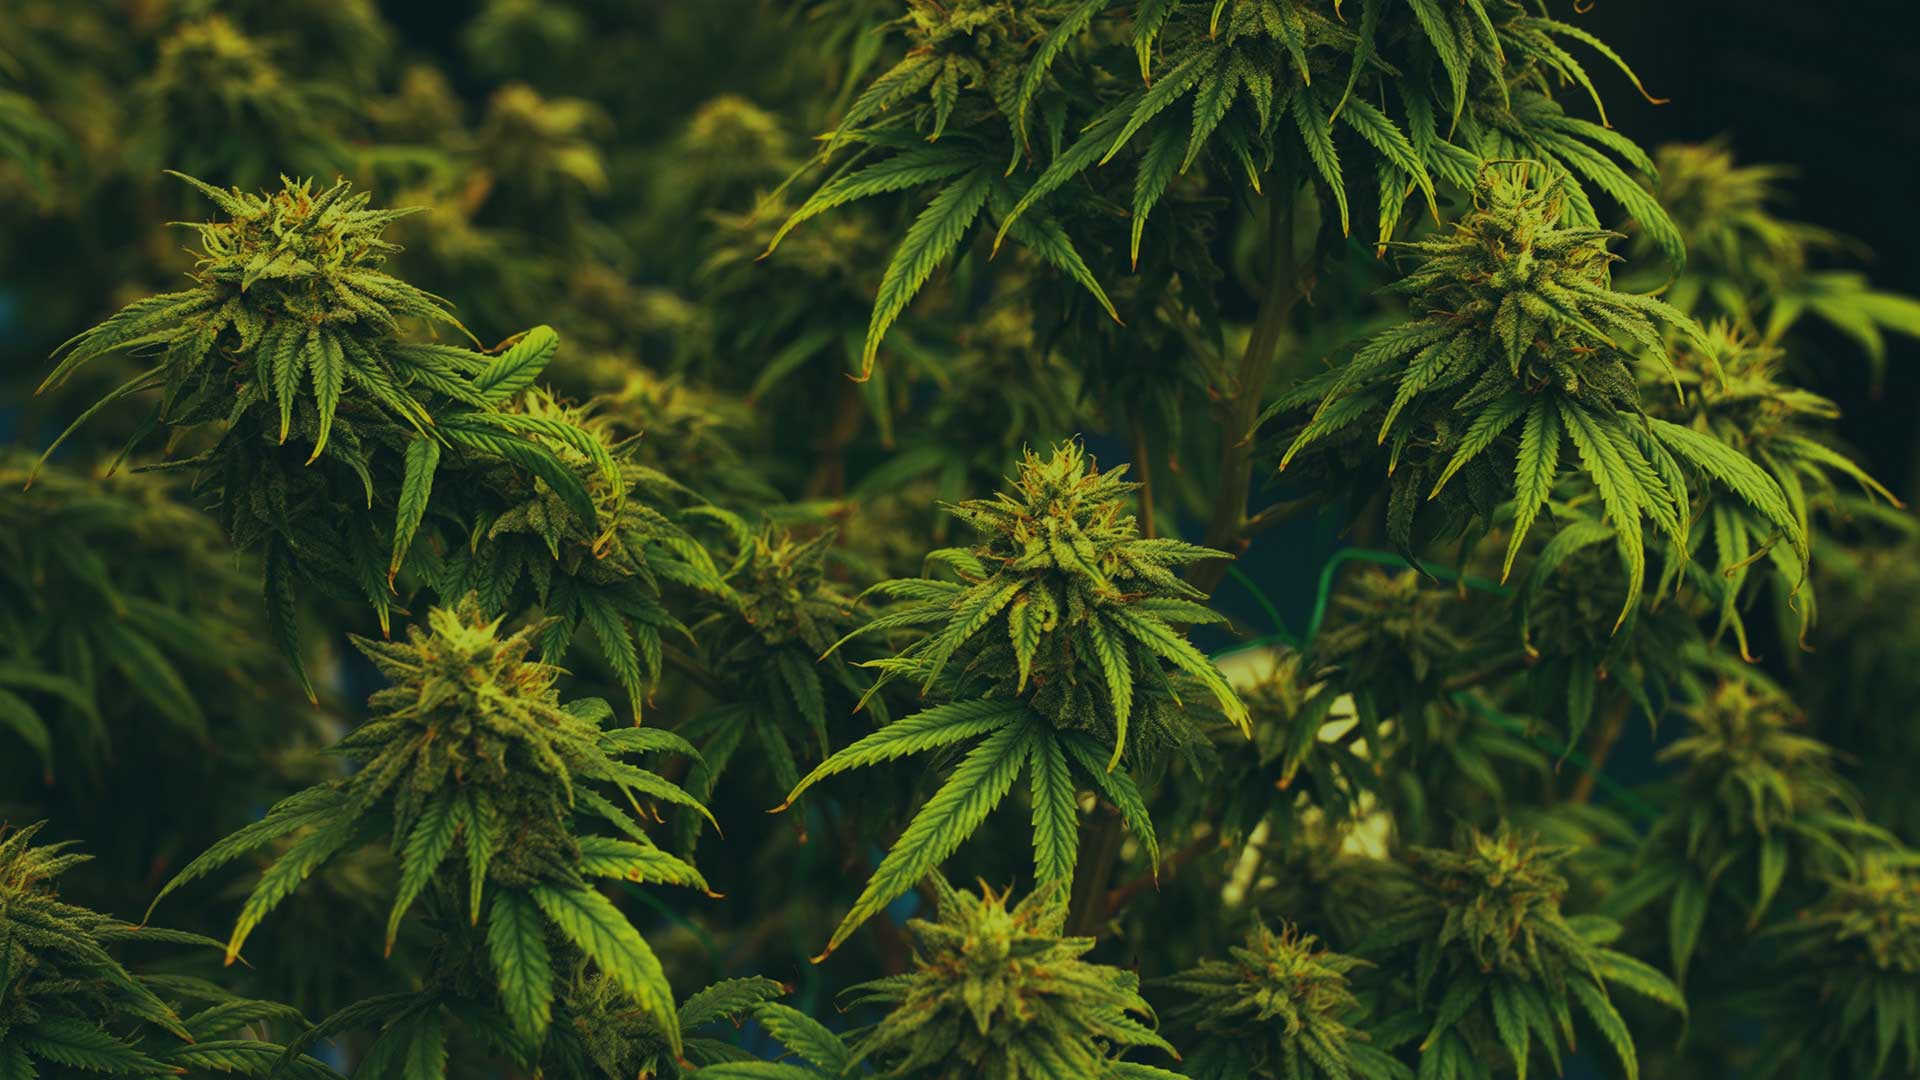
With cannabis, starting strong in the field or grow room gives you a better chance of ending up with a truly stellar crop. But what does that mean? To us, that means protecting your plant from harmful invaders such as pests, disease, and even an overabundance of nutrients.
Protect Cannabis Plants
- Bud Rot (Botrytis)
A gray mold that occurs in environments with poor air circulation and high moisture, bud rot is a common fungus across the plant world. Bud rot—or botrytis—causes poor water and nutrient absorption, eventually resulting in plant death. At the onset, the plant’s stem will appear mushy and gray, and as bud rot progresses, the fan leaves will wilt, turning yellow and burnt.
Prevention comes down to controlling humidity and airflow. In a grow room, you must constantly circulate clean air and install a dehumidifier to remove excess moisture from the air. Also, space the plants apart so air can move freely between them, and inspect your crop daily for standing water.
- Powdery Mildew
Another common intruder in cannabis crops is powdery mildew. This mold slows the growth of cannabis plants, causing them to shrivel and die if left untreated. Symptoms of powdery mildew include a loss of color on the overall plant and bright green or yellow spots on the leaves. Basically, it sucks the energy from the plant.
Unlike other types of mold, powdery mildew spores don’t need standing water to germinate. Instead, this scourge only requires brief periods of high humidity to spread.
Molds can wreak havoc on human workers, too. Some could potentially present a health threat when inhaled, particularly among immunocompromised individuals. For example, molds produce mycotoxins, like Aspergillus, which can significantly impact vulnerable people with a lung disease known as allergic bronchopulmonary aspergillosis.
These nasty mycotoxins are hardy even beyond the grave, as dead pathogens can continue to trigger allergies and asthma after they’ve been killed with treatment. That’s why when it comes to powdery mildew and other molds, it’s all about prevention.
To prevent powdery mildew, avoid wild fluctuations in temperature and use HVAC and dehumidification systems to stabilize the environment. When powdery mildew is spotted, it’s crucial to cut those leaves immediately. However, workers often inadvertently spread spores while attempting to salvage the plant. For heavy infestations, it might make more sense to scrap the crop rather than risk your entire operation.
- Pests
There’s no shortage of pests in the plant world, and cannabis is just as susceptible as anything else that grows in dirt. Some of the creepy crawlies and airborne irritants that endanger cannabis crops include:
- Aphids
- Broad mites
- Caterpillars
- Inchworms
- Crickets
- Fungus gnats
- Grasshoppers
- Leaf miners
- Mealybugs
- Russet mites
- Slugs and snails
- Spider mites
- Stink bugs
- Thrips
- Whiteflies
Each pest causes different types of damage to plants. For example, russet mites cause curling on leaf edges and brittle, dull-colored leaves and stems. Caterpillars, on the other hand, just munch holes in your fan leaves. If left unchecked, pests can cause irreparable damage.
It’s incredibly important to inspect your plants on a daily basis when it comes to any infestation. They say, “an ounce of prevention is worth a pound of cure,” but harmful pesticides have no place in a cannabis grow effort. If any sort of infestation crops up, treat it organically. Natural pest repellants include:
- Neem oil
- Diatomaceous earth
- Homemade foliar sprays
- Companion planting
- Pheromone traps
- Ultrasonic soundwaves
- Predator introduction
- Nutrient Overload
Also known as nutrient burn, overfeeding cannabis is just as deadly as underfeeding. Excessively feeding plants can cause undue stress, and you’ll see this stress in yellowing leaves that ultimately turn brown and die.
Traditional fertilizers can give your plants the nutrients they need to thrive, but overfeeding can turn even the most well-intentioned cultivator into the root of the problem. It’s especially easy to overload crops with nitrogen. As such, chart a course for low and slow feeding. Adhere to your fertilizer’s instructions and keep a daily log of feeding times and amounts.
Preserve Indoor Grow
Even in a controlled environment, such as an indoor grow room, things can go wrong. In fact, crops that are planted and cared for indoors occasionally require even more attention than those grown under the sun.
- Quarantine Clones
Whenever you introduce a new plant into your grow room, you run the risk of introducing new diseases and pests. Newly acquired clones can include horticultural hitchhikers, which will infect your entire garden if given the chance.
Quarantining agricultural products and plants is standard practice in commercial agriculture; in some cases, it’s enforced by the U.S. Department of Agriculture. To quarantine a cannabis clone, place it in isolation in a separate location for four weeks, while constantly observing, inspecting, and testing the plant.
- Grow Room Cleanliness (Including Equipment)
Just like any car, computer, or home, a grow room requires routine maintenance in order to function properly. That means keeping the space absolutely pristine and ensuring all of your equipment is as clean as possible.
Keeping a tidy grow room and sanitized equipment helps prevent pests, diseases, and mold. A daily cleaning regimen shared by the grow team, good airflow and filters, and even insect traps can help to fortify the growing space.
Make sure you have these supplies on hand at all time:
- Sponges and cloths
- Gloves and protective goggles
- Cleaning agents (detergent, hydrogen peroxide, vinegar, etc.)
- Alcohol wipes
- Distilled water
- Duct tape
- Broom and dustpan
- Mop and bucket
- Germ-killing sticky mats
- Cleanroom shoe and boot covers
Next, regularly clean these specific areas and pieces of equipment:
- Tabletop caster units
- Vertical grow racks
- Floor
- Carbon filters
- Grow system
- Ventilation system
- Irrigation system
- Grow lights
You can also employ negative air pressure to keep any possible contamination from escaping the cleanroom.
- Humidity Control
In the plant world, humidity is crucial to evaporation and transpiration. These two important parts of photosynthesis make up the very process in which plants convert light energy into chemical energy—an essential ingredient to growth.
When humidity levels are too high or too low, you run the risk of stunted growth or outbreaks of powdery mildew, bud rot, or nutrient deficiencies. Depending on the stage of growth, optimal humidity levels vary.
- Seedling stage: Humidity should be set around 70 percent.
- Vegetative stage: Humidity should be set between 40 and 60 percent.
- Flowering stage: Humidity should be set between 40 and 50 percent.
- Late flowering stage: Humidity should be set around 40 percent.
The best ways to control humidity in the grow room include:
- Using a humidifier or dehumidifier
- Improving ventilation
- Keeping soil surface moist
- Optimizing drainage
- Sealing and insulating the grow room
- Defoliating
- Airflow (Sterilized and Filtered)
It wouldn’t be a stretch to say that most cannabis pests and diseases can be traced back to a poorly ventilated grow room. Maintaining proper ventilation—and ensuring that air is sterilized and filtered—is fundamental for any healthy grow room. But aside from pathogens and pests, your plants need fresh air to fuel photosynthesis and “breathe.”
One surefire way to have sterilized and filtered air is through the use of high-efficiency particulate air (HEPA) filters. HEPA filters—the standard across multiple industries—remove particles by forcing air through a fine screen. With 99 percent efficacy, HEPA filters can be used in both vacuum and air purification systems.
To take the airflow purifying mission to the next technological level, check out the Air Sniper, which uses four zones of Ultraviolet (UV-C) light, multiplied using Photocatalytic Oxidation (PCO) elements. This tool destroys airborne viruses, bacteria, and molds, preventing their proliferation before harming your plants or personnel.
- Light Cycles
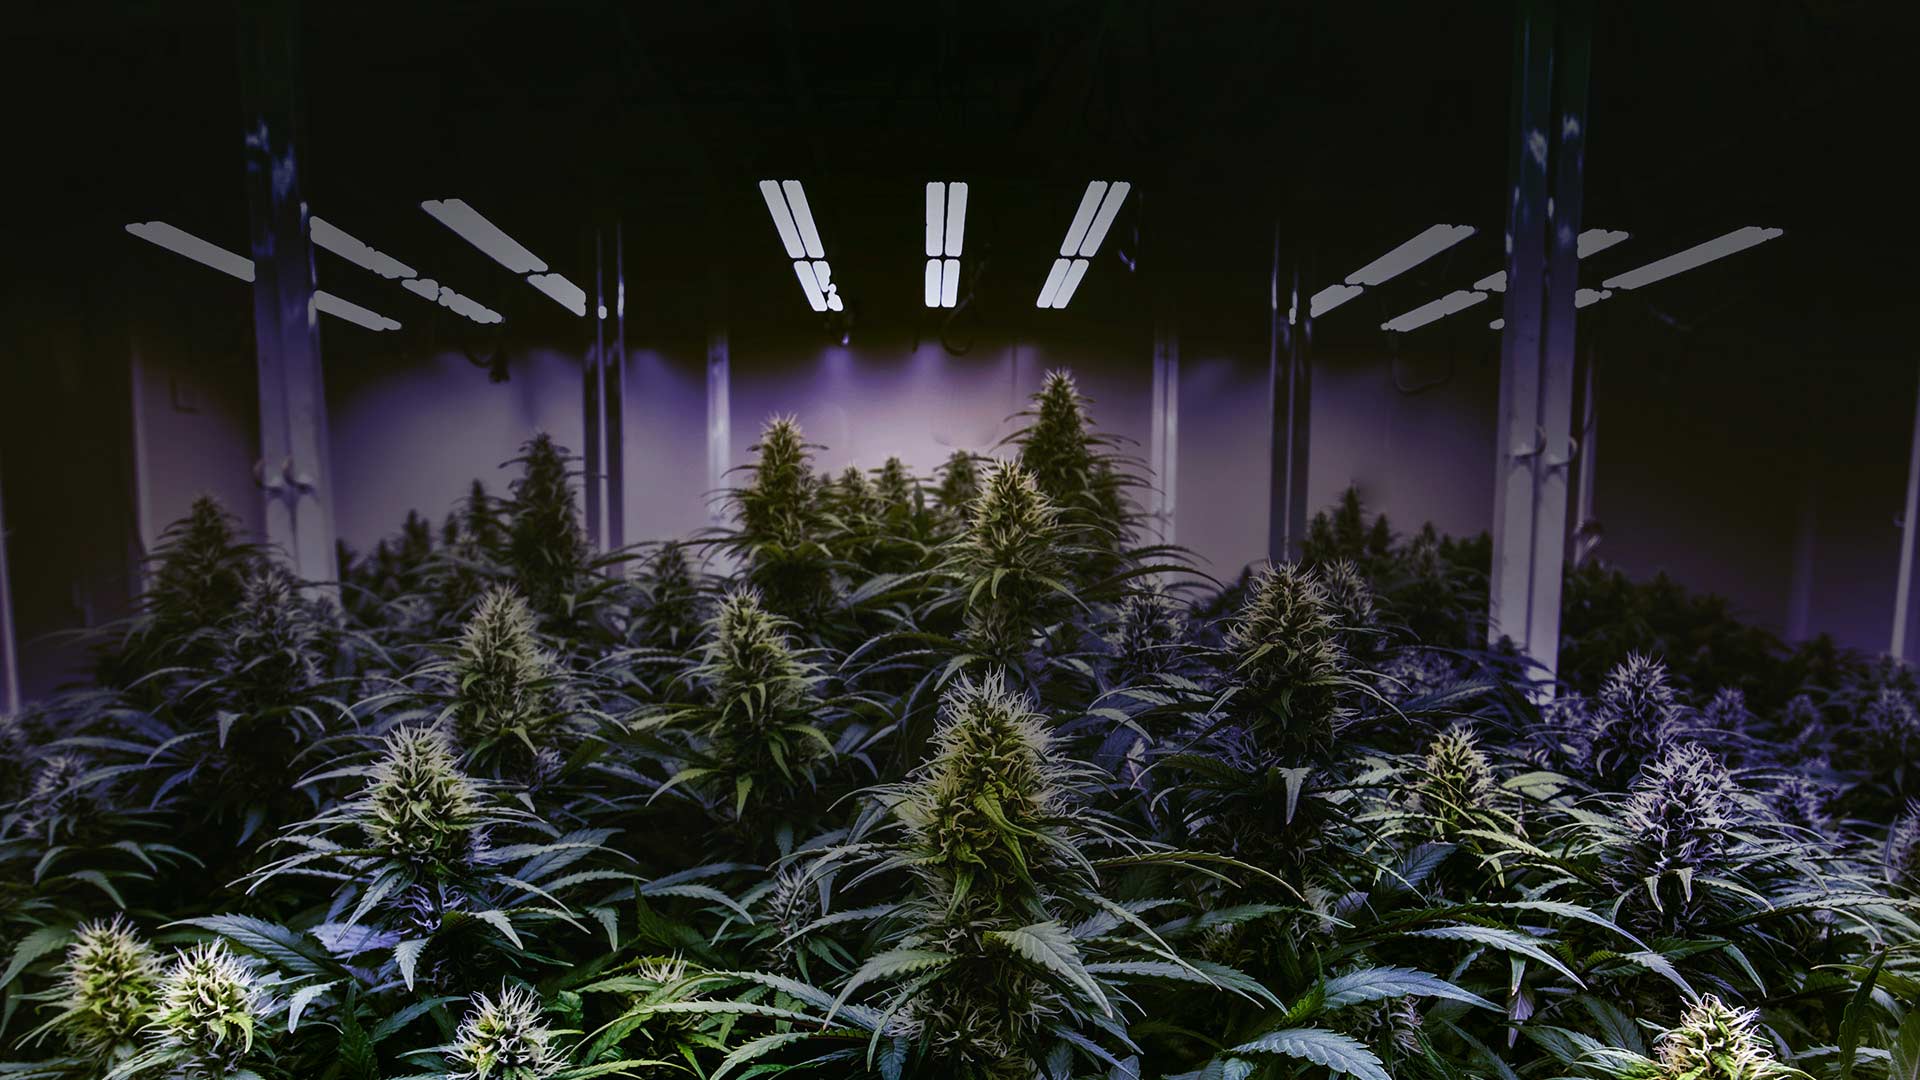
Let there be light! More to the point, let there be sufficient light! Understanding the light cycle and spectrum needs of your cannabis plants can lead to better yields and healthier plants with robust cannabinoids and trichomes.
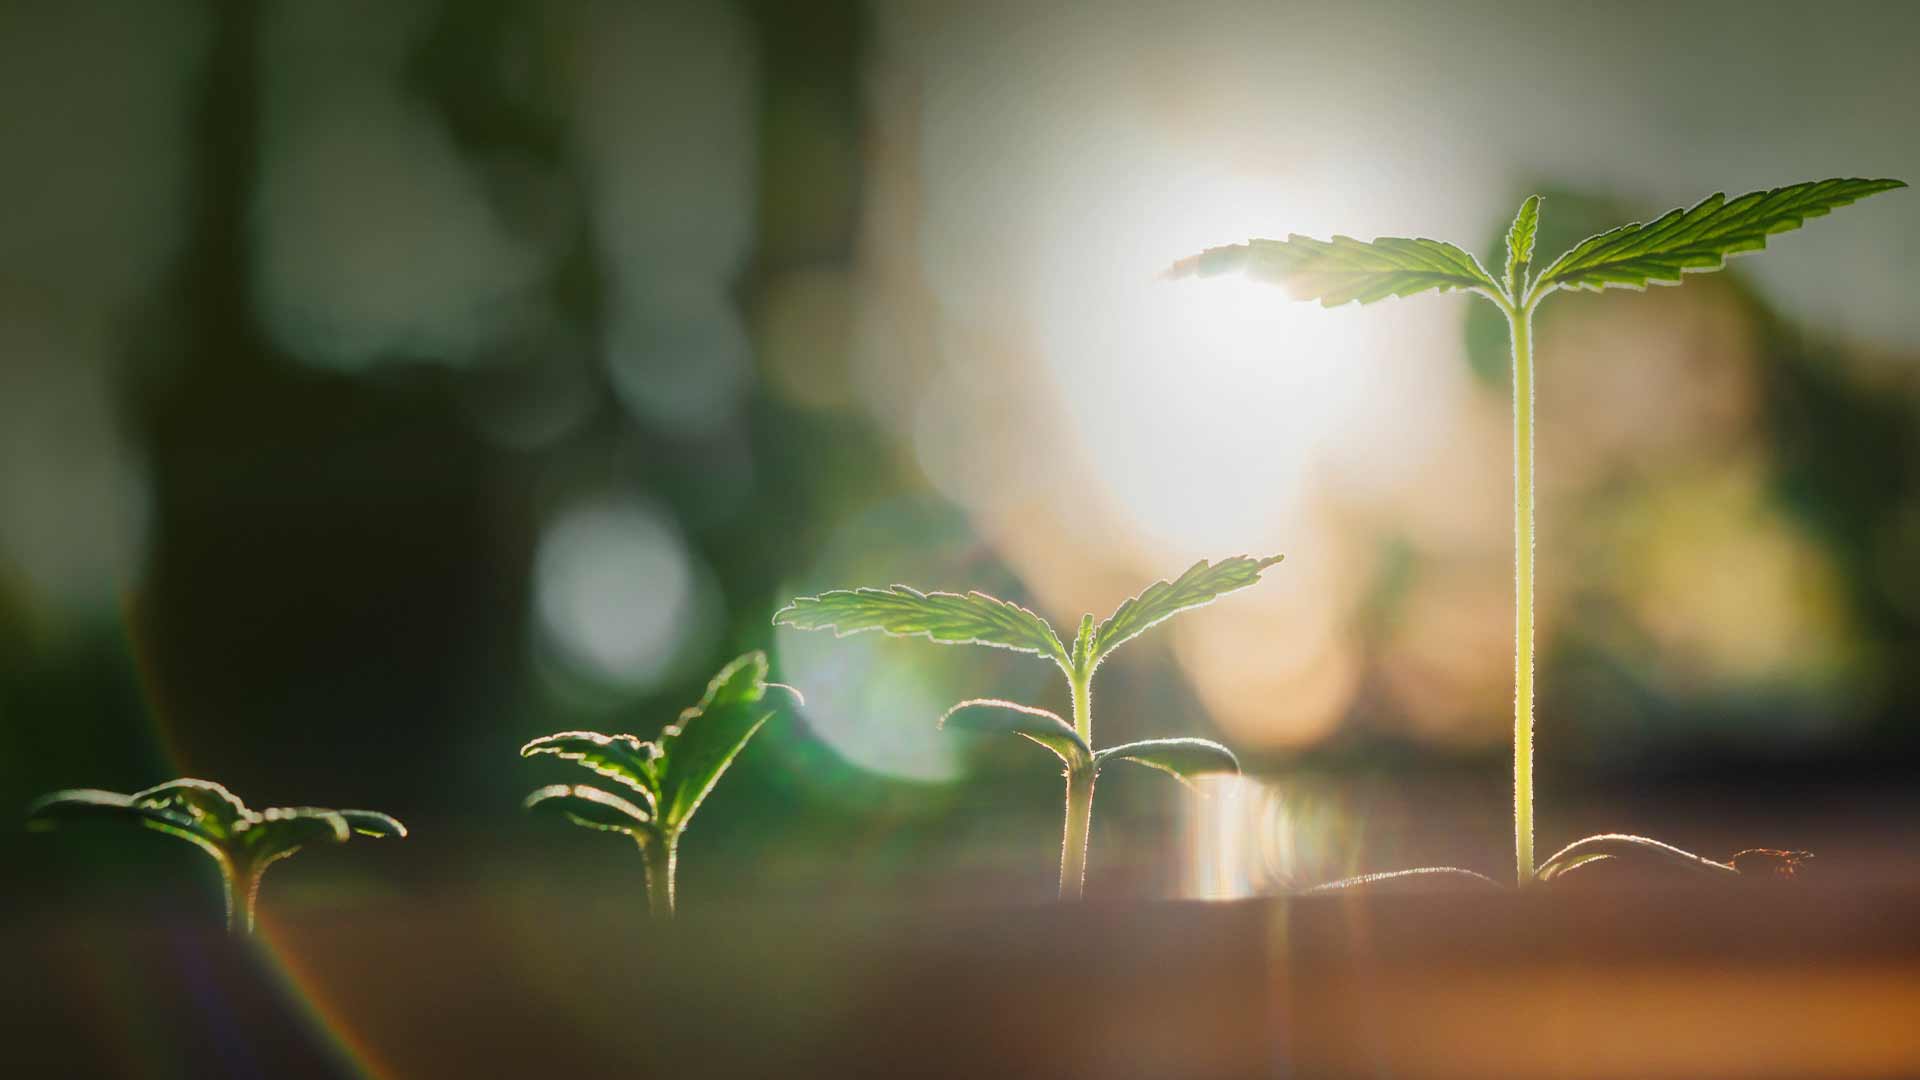
First, know that there are four distinct stages of cannabis growth: germination, seedling, vegetative, and flowering. Next, understand that each growth stage has a different light cycle requirement in terms of how much light they need and what spectrum of light you should use.
- Germination: Red light for 16 hours a day.
- Seedling: LED blue light for 18 hours a day.
- Vegetative: Full-spectrum light for 18 hours a day.
- Flowering: Full-spectrum light for 12 hours a day.
- Fungicides
There are millions upon millions of fungi species around the world, and while your cannabis plants might not be under constant threat of all of them, the ones that could make it into your grow room can cause serious harm. Microscopic fungal spores travel in the air, floating through the grow room and landing on plants. Once on the plant, spores can lead to various types of mold, bud rot, and other diseases.
Utilizing fungicides early on is key to winning the battle against fungi. Conventional fungicides are an immediate, if non-organic, option. These chemicals effectively kill fungi on cannabis plants, but harsh chemicals aren’t ideal in an enclosed grow room.
Organic fungicides are far more appealing to cannabis consumers, who are notoriously selective when it comes to choosing a marijuana source. Potassium bicarbonate is a natural fungicide that can reduce the spread of powdery mildew. Hydrogen peroxide also has antifungal properties.
Other Fungal Remediation Methods
Beyond fungicides, there are a handful of interesting methods for remediating an outbreak of fungi in the grow room. If a state testing agency detects a fungus in your operation, you can perform these remediation efforts and then have the state return for a retest. These remediation methods include:
- Dry Heat
- Gamma Radiation
- Gas Treatment
- Radio Frequency
- UV Light
- Steam Treatment
- Reactive Oxygen
- pH Levels
pH (potential hydrogen) measures the acidity and alkalinity of your soil medium and controls how well your plant absorbs nutrients. Dialing in the correct pH levels takes skill and precision, but the importance of hitting the right levels makes learning such skills all but mandatory in cannabis cultivation.
Cannabis plants tend to prefer a slightly acidic environment for its roots, as such pH levels help avoid nutrient lockout.
- For growers using soil, pH levels should be adjusted to a range of 6 to 6.8
- Growers utilizing a soilless garden should set the pH range between 5.5 and 6.5
Different nutrients are absorbed at different pH levels, so allowing a varied range such as what’s listed above helps plants absorb a variety of nutrients.
Preserve Outdoor Grow
For cultivators who have ample outdoor space for a cannabis grow, there are specific ways to protect and preserve the crop. From harnessing the power of the sun and keeping an
eye on the weather to scheduling harvest, trimming, and curing, grows in the great outdoors deserve a closer look.
- Spacing Plants
Cannabis plants require plenty of room to stretch their stems and branches. But more than that, overlapping plants can spark competition in your garden, causing plants to siphon energy from one another, which will make at least half of your crop weaker than the rest.
To guard against this and ensure your entire crop reaches its potential, space your plants at least three to five feet apart. Doing so sets you up for success, as every inch of each plant will get adequate airflow and the right amount of sun.
- Weather Preparedness
Even with radar, satellites, and other tech from the National Weather Service, storms can strike suddenly. Weather will always be somewhat unpredictable, so protecting your outdoor grow from the ravages of the elements should be a high priority for any cultivation team. To keep your plants safe:
- Know your local climate: Growing high-quality outdoor marijuana requires an intimate knowledge of your local climate and seasons. Understand seasonal temperatures, how much rain your area gets, how low the temperature plummets, and the amount of daily sunshine your crop will receive.
- Know your strains: Some cannabis genetics adapt to specific climates, growing more easily in certain weather conditions. Pay close attention to strains, or cultivars, if you want a successful harvest.
- Know your temperature: Cannabis is known for its heat tolerance, but extreme fluctuations in temperature could prove detrimental to plants. Cannabis loves daytime temperatures between 75 and 85 degrees Fahrenheit, but temps above 88 degrees or below 60 degrees could delay growth.
- Know your harvest schedule: If you live in an area with a cold and rainy season, carefully schedule your planting so that cannabis is harvested before bad weather rolls in. Plan your cultivation so the rainy season makes the end of the flowering stage and the start of harvest time.
- Know your plants: If your plants do get caught in the rain, lend a helping hand. Immediately after rain, gently shake excess water off of the leaves and the stems; lingering moisture can lead to an outbreak of mold.
- Remove Leaves for Airflow
Cannabis fan leaves absorb light, turning sunshine into energy the plant needs to grow. Leaves also have pores that open and close (stomata), which allows the plant to “breath.”
Fan leaves contain trace amounts of THC and CBD, and while some cultivators use fan leaves to make hash and various types of concentrates, cultivators growing cannabis for dried flower should be far more concerned with the precious buds.
Removing or pruning fan leaves is an essential step when cultivating cannabis. When fan leaves grow too large or too abundant, they could block the sunlight and the airflow to certain parts of the plant. This can hinder the production of cannabinoids and trichomes.
Removing fan leaves:
- Improves light penetration
- Improves airflow
- Helps prevent mold and pests
- Redirects energy to buds
Generally speaking, you want to remove some fan leaves during the vegetative stage, when your plants reach around 10 inches in height.
- Fungicides
Since cannabis plants are all susceptible to certain kinds of fungi, you want to be as diligent in protecting your outdoor cannabis plants from fungi as you would be with an indoor grow.
Fungal spores are constantly flying around, looking for a dark humid place to land and proliferate. Unfortunately, grow sites offer the ideal circumstances, as there is plenty of warmth and moisture.
Here are some common cannabis fungi:
- Gray botrytis
- Oídio
- Mildew
- Tizne or bold
- Fusarium
- Root rot
- Verticulosis
- Sclorotinia
Some of these fungi are more destructive than others. To prevent an outbreak, make sure there’s plenty of space between your plants for airflow. Also, thoroughly check your plants for signs of fungal infection on a daily basis. If a fungus does appear, use a safe, organic fungicide to save your crop.
- pH Levels
As it is with indoor grows, outdoor cannabis prefers soil that’s slightly more acidic. Keep your soil pH in a range of 6 to 6.8. This ensures your plants absorb the nutrients they need to grow strong and healthy. You can take the guesswork out of pH levels by purchasing a pH test kit. You can also follow time-honored home gardening tips to conduct a pH test without any sort of professional kit.
Harvest
While it depends on the strain, harvest time generally rolls around when the pistils turn sunset to amber and the trichomes are cloudy and no longer translucent. Keen-eyed cultivators observe this color change with a microscope or a hand lens. Once the transformation has been observed, time is of the essence. You must harvest the flower and take the next steps to ensure a potent haul of cannabis buds.
- Have a Plan
Do not enter the field or grow room with a machete in one hand and a pair of scissors in the other. Put down those implements of destruction and craft a plan.
Make time to:
- Test cannabinoid content
- Defoliate plants
- Flush nutrients if necessary
- Prepare a climate-controlled space for storage
- Know where your plants will be dried
- Get airtight containers ready for curing
Having a solid plan in place before you harvest will make the long journey to the consumer that much smoother.
- Time Your Crop Cycle
Set the pace of your propagation to ensure consistent volumes without overwhelming your team of gardeners, overloading trimming equipment, and crowding the drying space. The key to timing the crop cycle is to know your cultivars. Some strains will reach harvest time before others, and those must be dealt with first. Be mindful of the different strains spread throughout your crop, and remember to start plants of the same cultivar together so that they hit harvest time simultaneously.
- Flush Nutrients
Through the vegetative and flowering stages, you’ve pumped your cannabis plants full of feed additives to help spur growth. But consumers don’t want feed additives—they want pure, potent cannabis. And the best way to make sure they get what they want is to flush the nutrients.
Flushing cannabis plants often takes place about two weeks before harvest time. At the end of bloom, supply your plant with unadulterated water to remove the nutrient-heavy feed additives. This action allows the plant to absorb any remaining nutrients and minerals in the grow medium.
- Start with Clean Harvesting Equipment
Every successful cannabis harvest has one thing in common: It begins months before you start clipping and chopping. Certain equipment must be cleaned, checked, and tested ahead of time in order to ensure everything goes according to plan on the big day.
In the run up to harvest, clean all work surfaces and equipment. This will not only help equipment function properly, it will also lead to a better overall product free of any impurities.
- Stripping
Stripping cannabis plants refers to removing excess fan leaves, or “defoliating” the plant. This is an action that should take place before harvest, as it helps plants reach the finish line of the flowering stage.
When it’s time to harvest, you’ll be thankful that you took the time to strip the cannabis leaves. It makes for a much easier, less unwieldy task.
- Drying
After trimming the cannabis plant and removing it from its grow medium, you need to rid the plant of any residual moisture hidden within the buds. Drying doesn’t just preserve flavor and aroma, it also safeguards against the development of mold and mildew.
After harvest, dry cannabis trimmings in a cool, dry place, preferably with a temperature of around 70 degrees Fahrenheit and 50 percent humidity. A steady temperature is key, as too much warmth will evaporate terpenes—a total disaster!
Dry the cannabis for as little as three days or as long as two weeks. To test the dryness, bend a stem. If it snaps easily, the buds are sufficiently dry.
- Sorting
As harvest time transitions to the processing phase, buds need to be sorted by size and weight. Sorting cannabis post-harvest gives you the opportunity to separate large buds from small and make sure that no shake goes to waste.
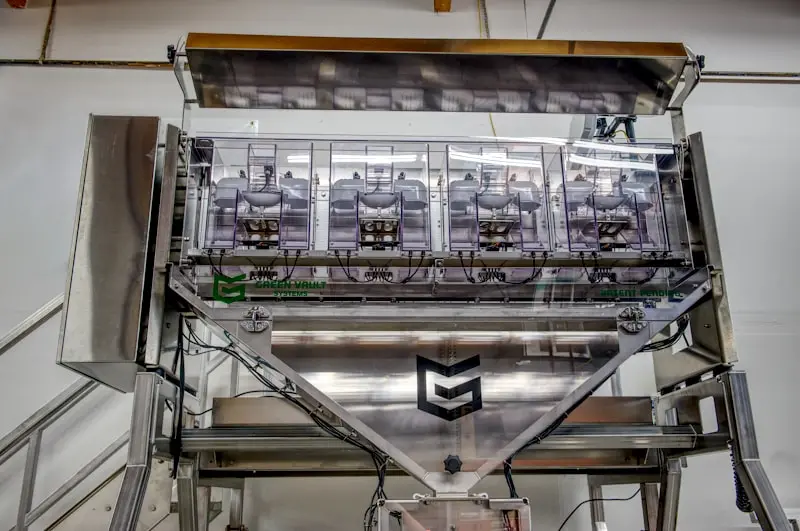
Sorting was once a laborious process that required several individuals hunched over a table to move buds by hand. Thankfully, times have changed. Bud sorting machines allow companies to swiftly sort dried cannabis flower for various packaging destinations, including everything from large bags to pre-rolls.
- Trimming
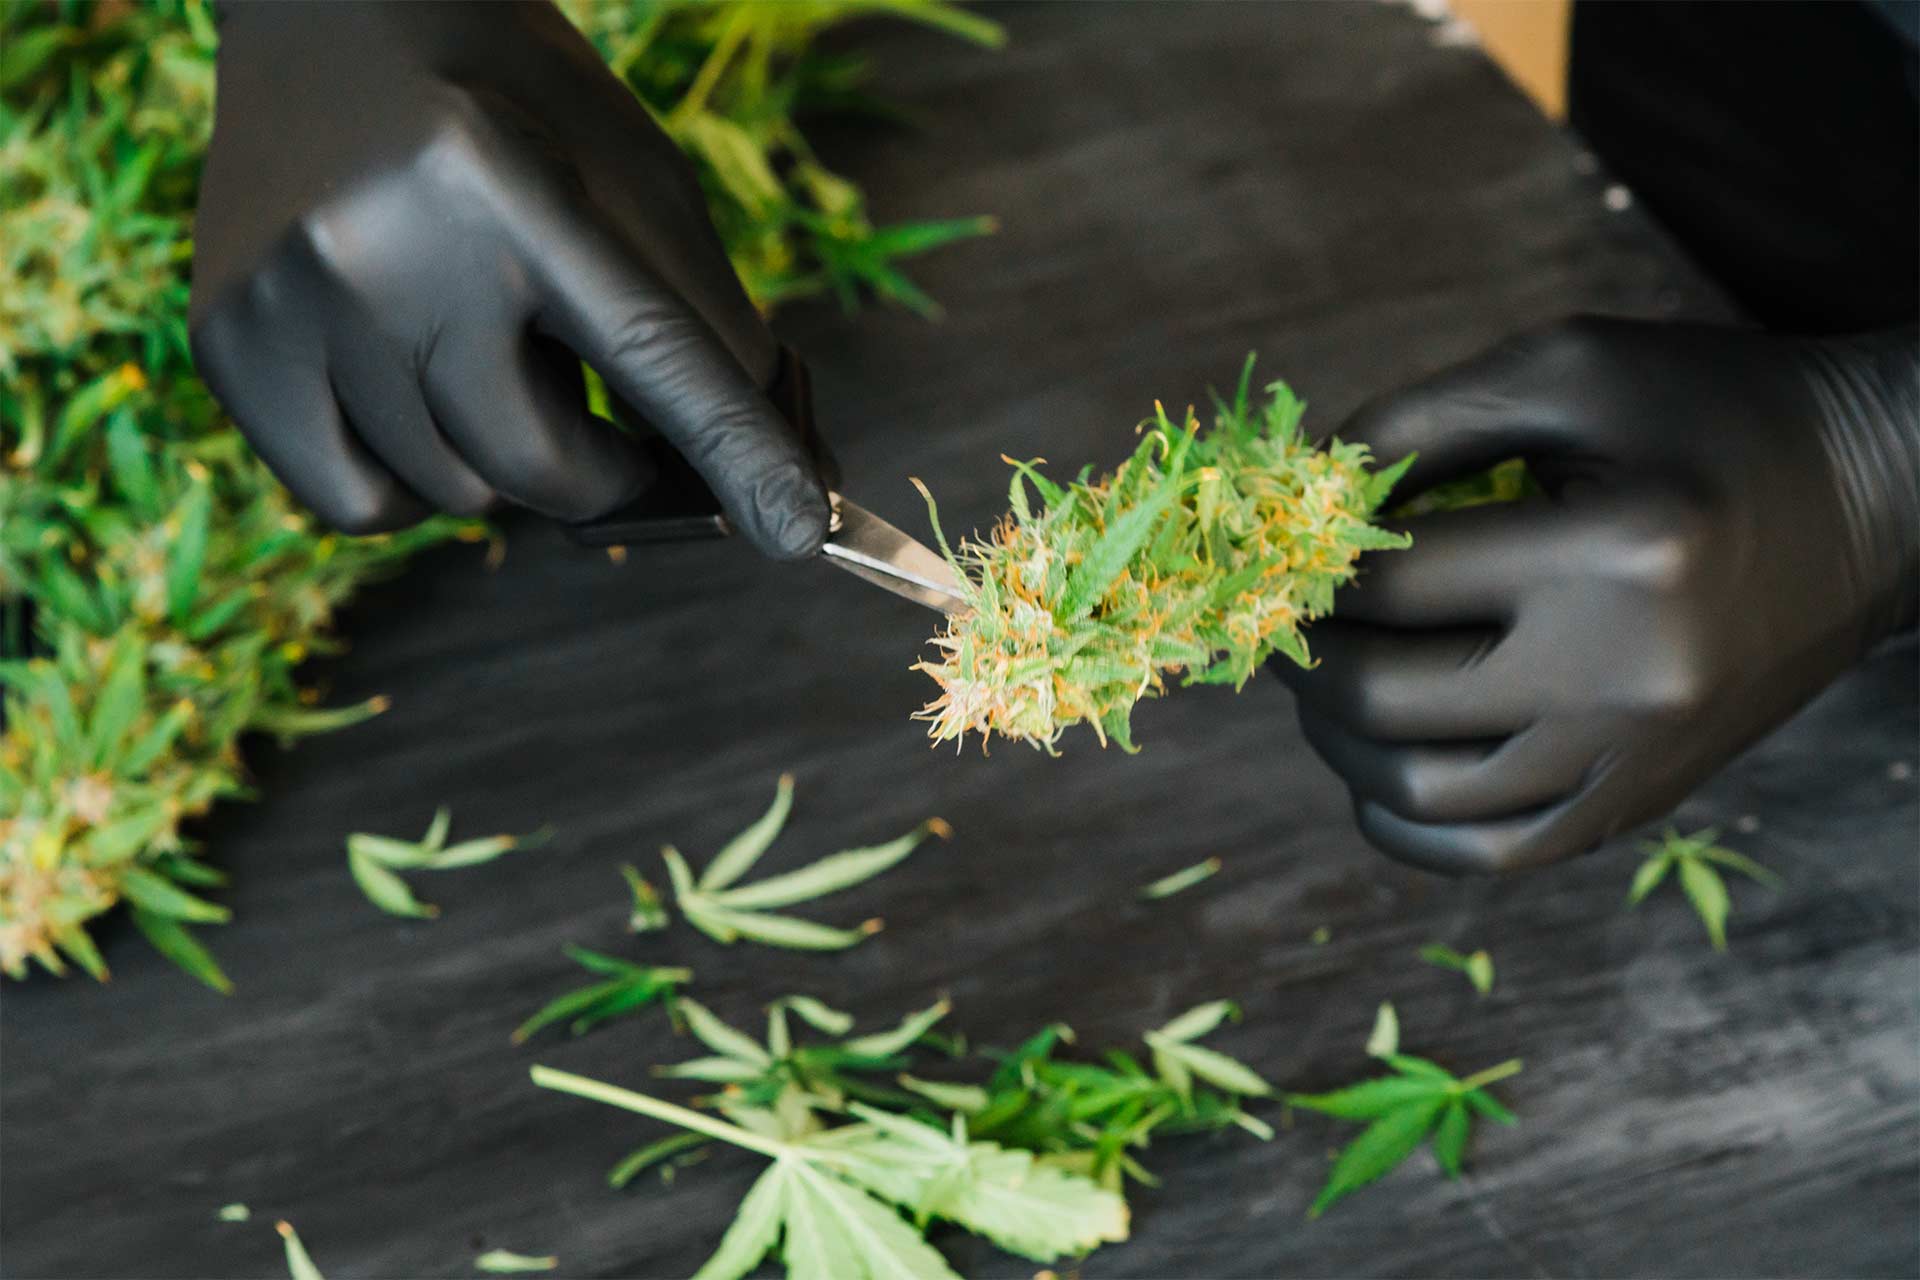
Trichome preservation is one of your ultimate goals during harvesting. As you know, trichomes are the microscopic hairs on cannabis that contain the majority of the plant’s terpenes and cannabinoids. With these mushroom-shaped protuberances, many of the psychotropic and bodily beneficial effects of cannabis would go up in smoke.
That’s why it is so incredibly important to protect your trichomes during the trimming stage of the post-harvest process. With trimming, you must choose between “wet” or “dry” trimming. Dry trimming only happens after the plant has hung in a dry room for ample time and completely dried. Wet trimming, on the other hand, occurs immediately after harvesting without any time devoted to drying.
The best option for preserving trichomes is to opt for wet trim. Trichomes are sturdiest when the plant is wet; they’re considerably weaker once the plant has been dried.
- Curing
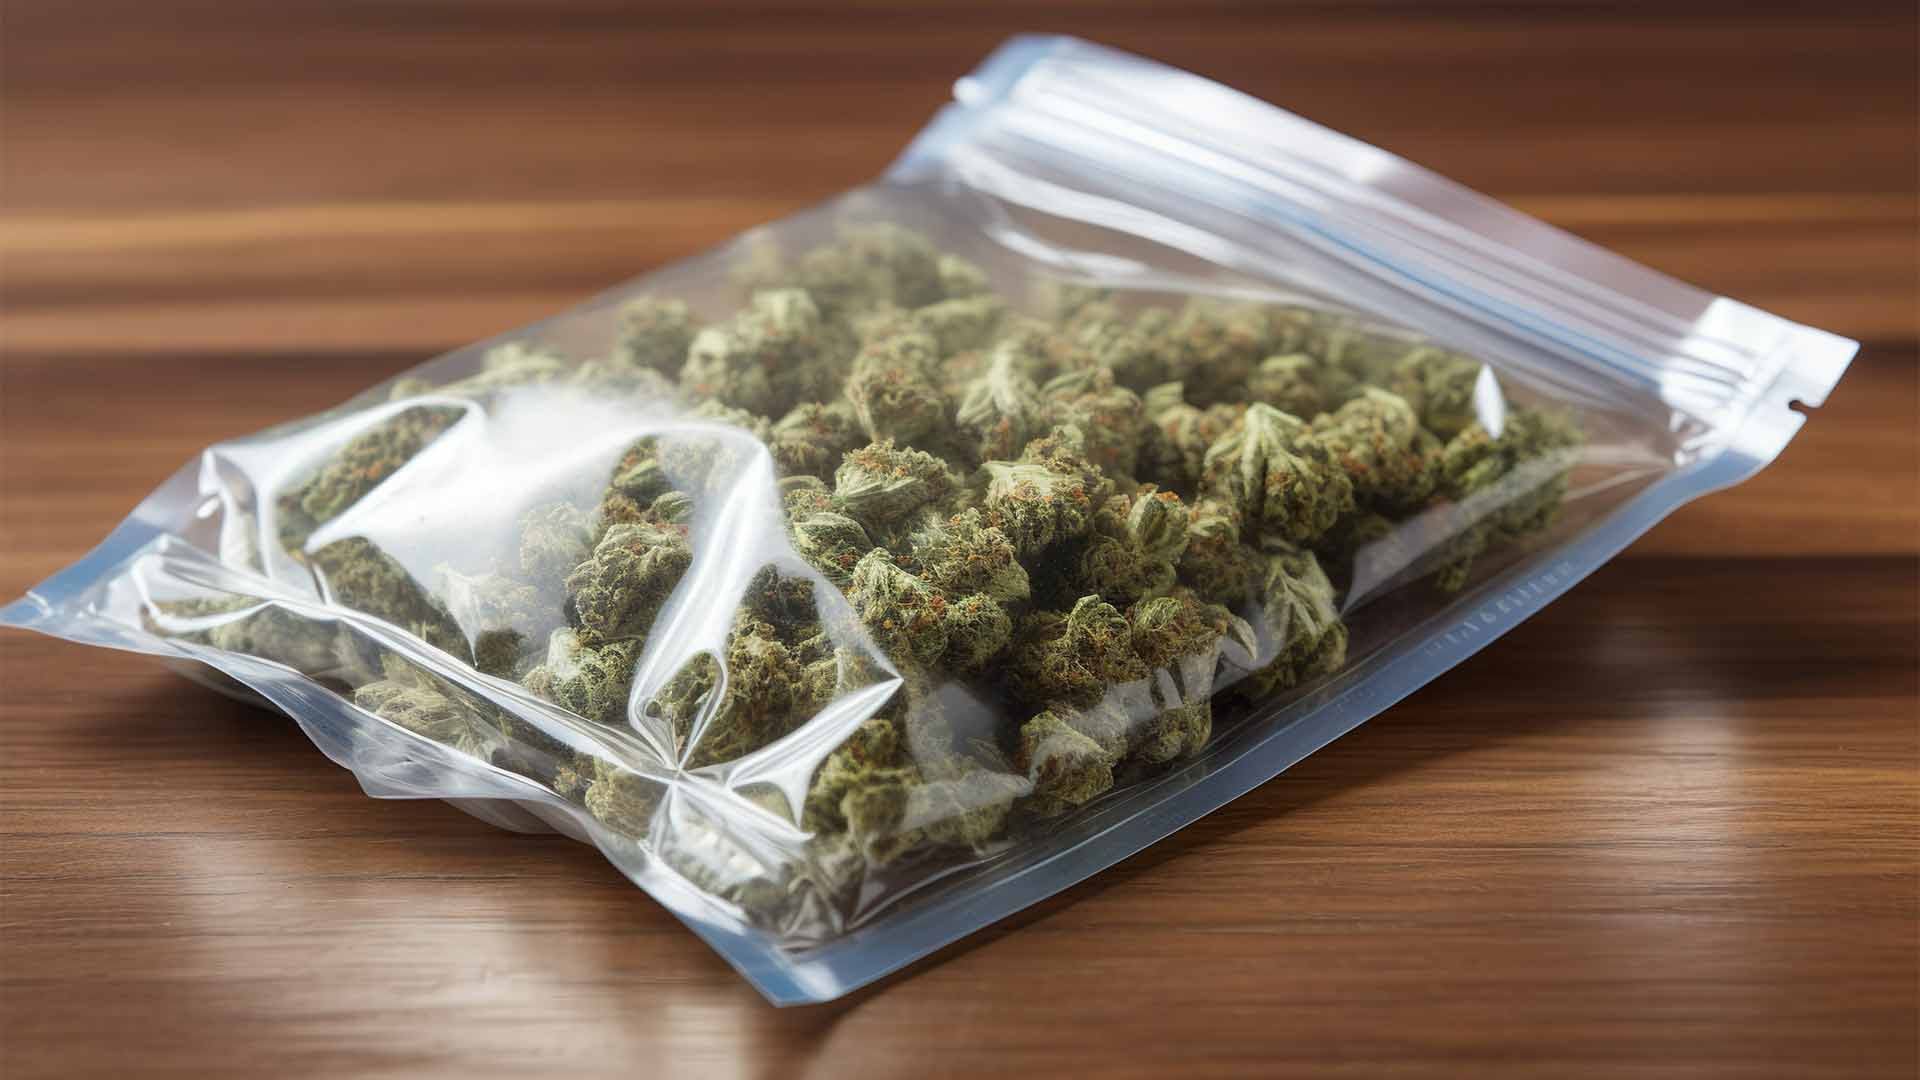
Before packaging, there’s one more vital step to ensure the best quality cannabis possible. Curing maximizes the flavor, aroma, and overall potency of your buds. In order to cure cannabis, it should be loosely packed into airtight containers, separated by strain/cultivar.
But you can’t cure cannabis in your desk, in your car, or in your pocket. Instead, store the sealed containers in a secure location that clocks in around 70 degrees Fahrenheit and 60 to 65 percent humidity. Be sure to burp the containers every so often to relieve the contents of any carbon dioxide that has built up.
Bonus Tip: Automated Sorting and Packaging Equipment
From dropping seeds into soil to harvesting and sorting, growing cannabis for consumers constitutes a ton of hard work. And that hard work cannot go to waste, especially when revenue is on the line.
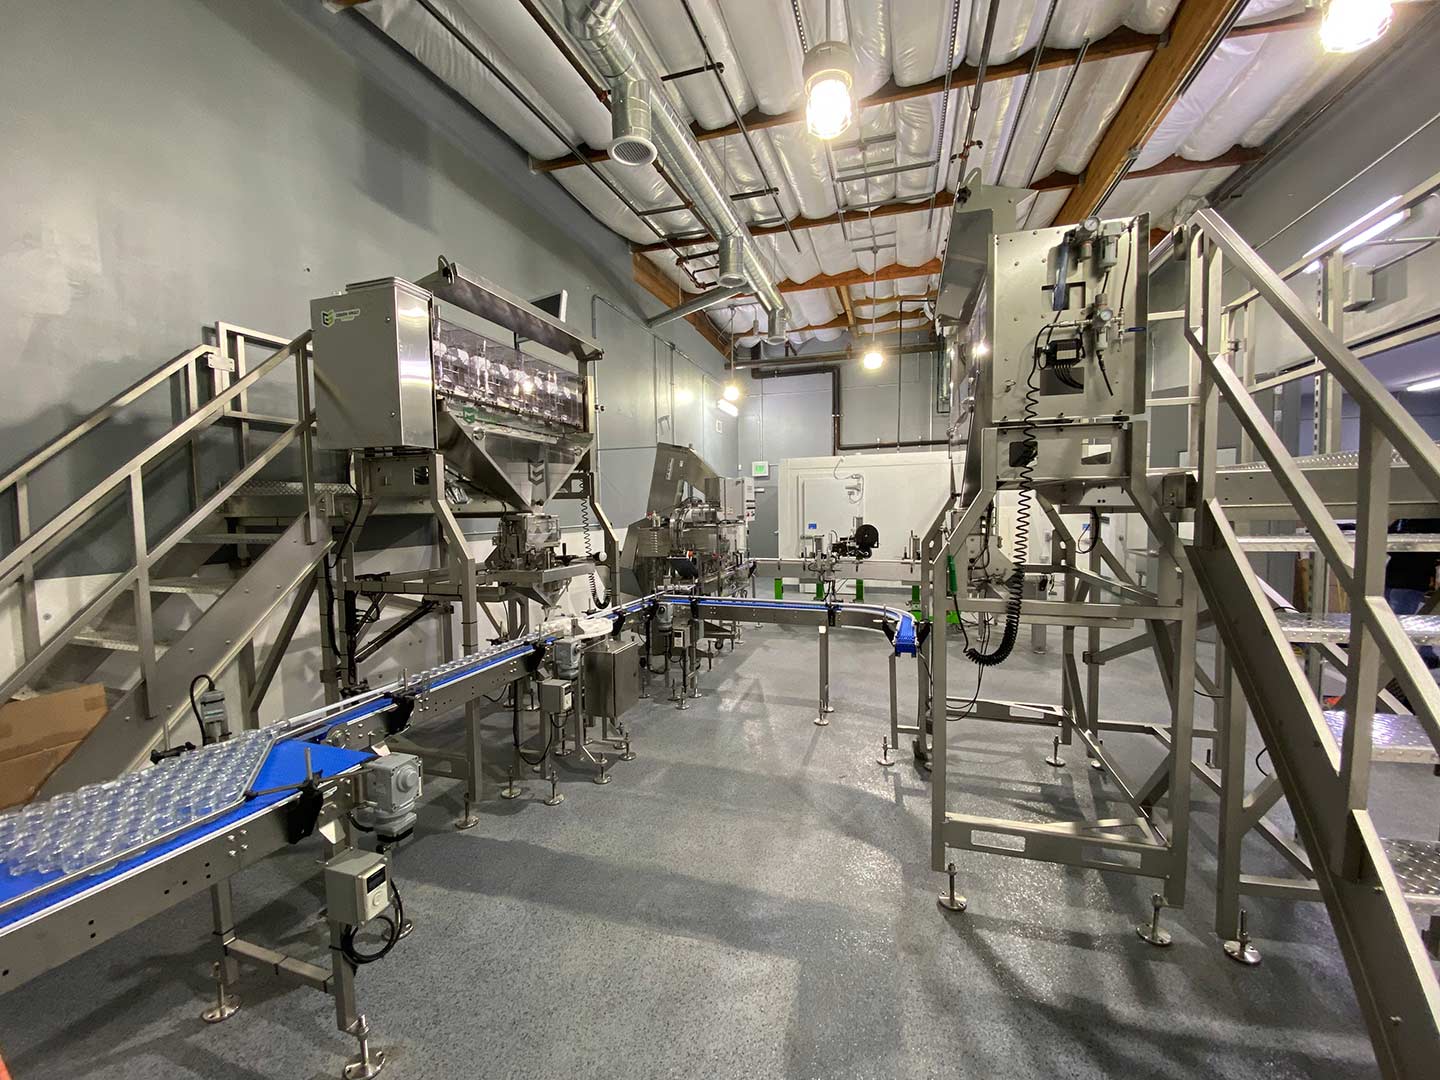
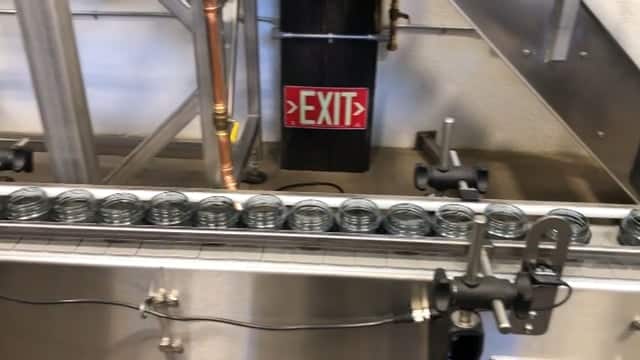
Deploying automated sorting and packaging equipment leaves nothing to chance. Heavy duty machinery that’s been purpose-built for the cannabis industry saves time and money, while giving you the best chance to produce a seriously high-quality product.
Green Vault Systems’ automated sorting and packaging equipment encompasses the final, thoughtful step toward protecting and preserving cannabis flower.
Cannabis Flower Protection: It’s Serious Business
Whether it takes place indoors or outdoors, cannabis growing is a monumental undertaking that requires significant effort. And with delicate cannabis flower, that effort is manifested in the many steps you take to protect the plant before it reaches retail shelves.
Green Vault Systems manufactures machinery that continues your mission to protect your buds. Connect with us today and build a better cannabis facility!
